DIY Storage Shelf: Easy, Versatile, and Multi-Purpose Solution
Do you want to build a DIY storage shelf on a budget? Have you ever needed more counter space? I’ll share how to build a kitchen island and storage shelf for your home, and show how many ways you can use it.
This post may contain affiliate links, I earn from qualifying purchases at no extra cost to you. Click here for my disclosure policy
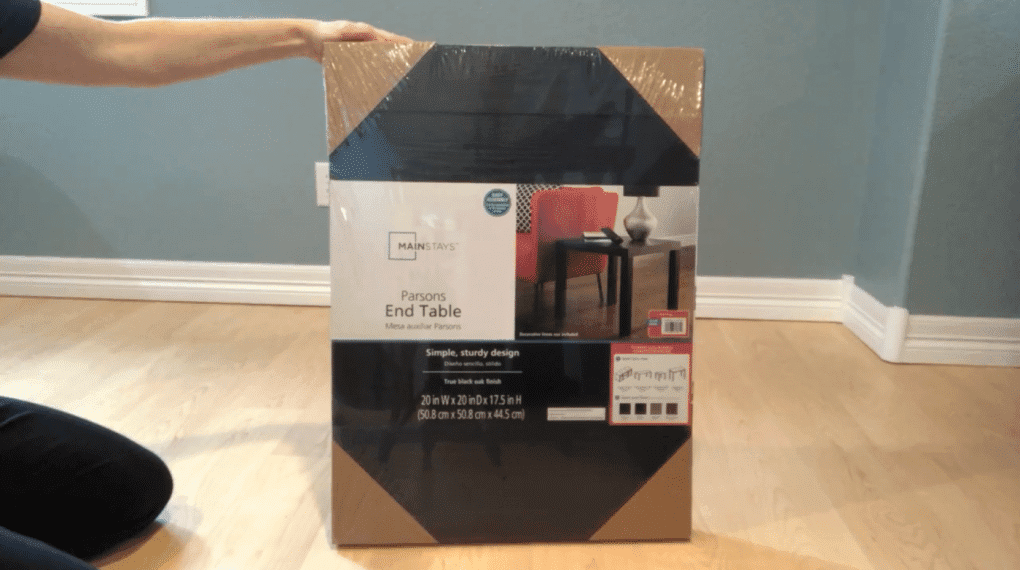
Here are the materials needed to build a DIY storage shelf and kitchen island.
To start you’ll need 3 Parson’s End Tables and I purchased mine at Walmart. They are usually $10 each, but I ordered them online for in store pick up and I got a discount!
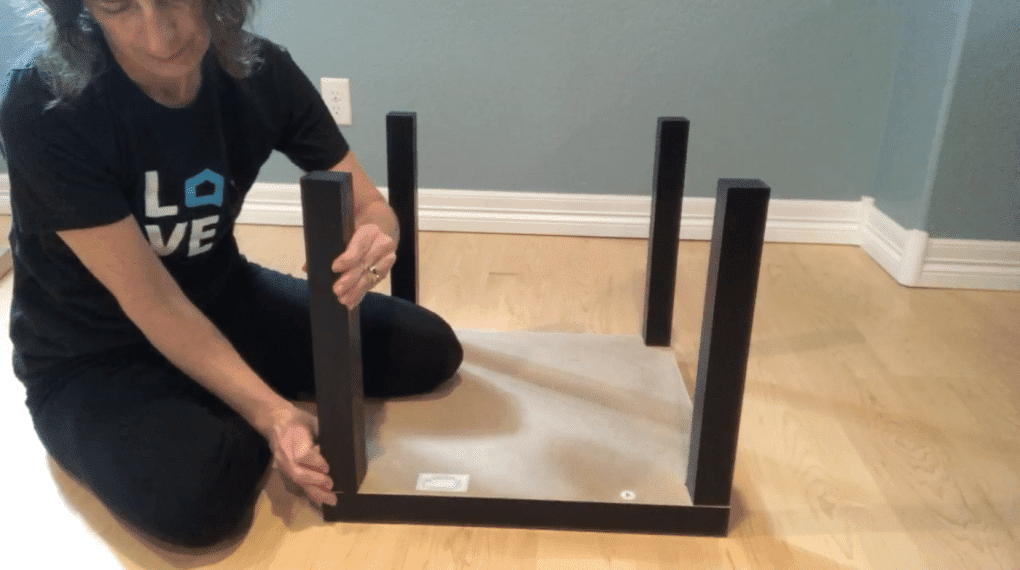
How do you make a simple kitchen island?
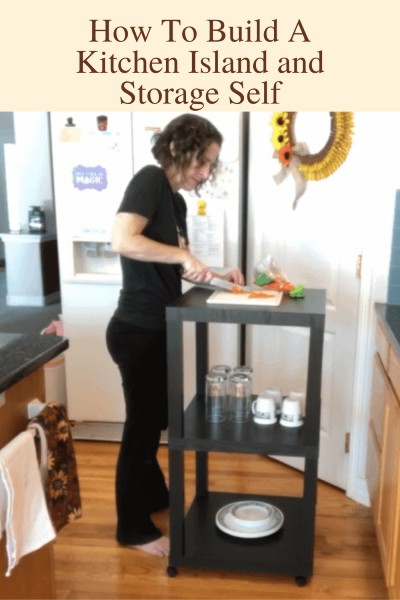
Here are the instructions to build a small kitchen island cart.
I put 2 of the tables together. It was really easy – just screw in the legs.
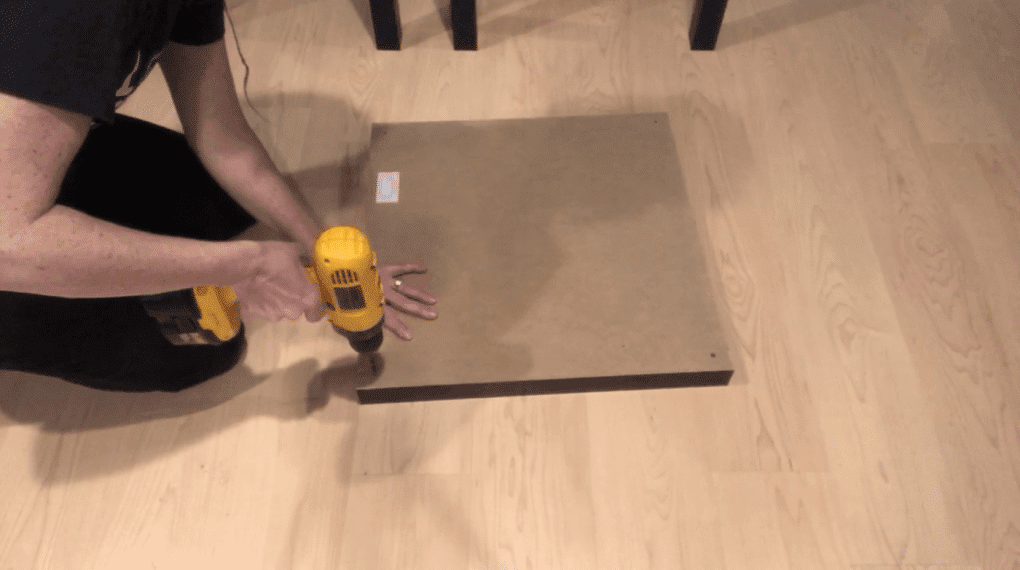
For the third table, I drilled the holes just a little bigger so I could fit rolling wheels in them.
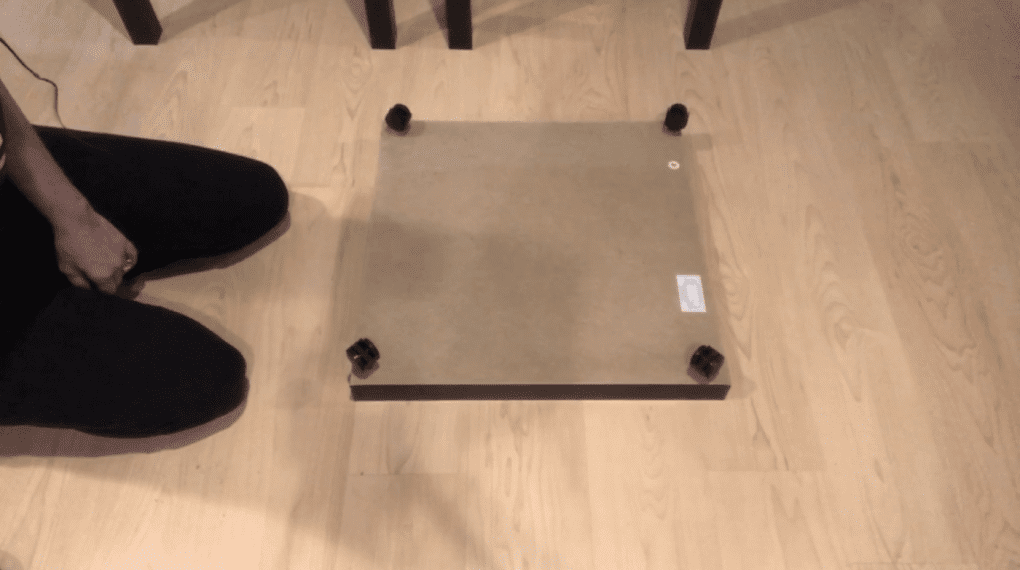
I had these wheels on hand, but they sell them at Dollar Tree. If you don’t want to put wheels on it, or you are intimidated by power tools, you could attach floor sliders onto the bottom instead.
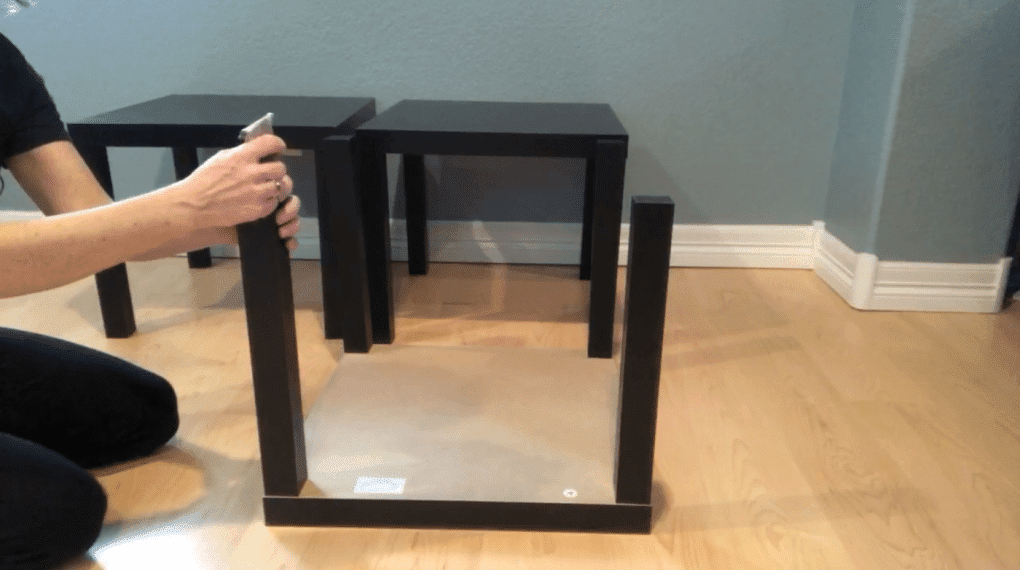
Use some E6000 or glue of your choice and put on the bottom of the legs on 2 of your tables.

Stack your tables on top of the table top with wheels.
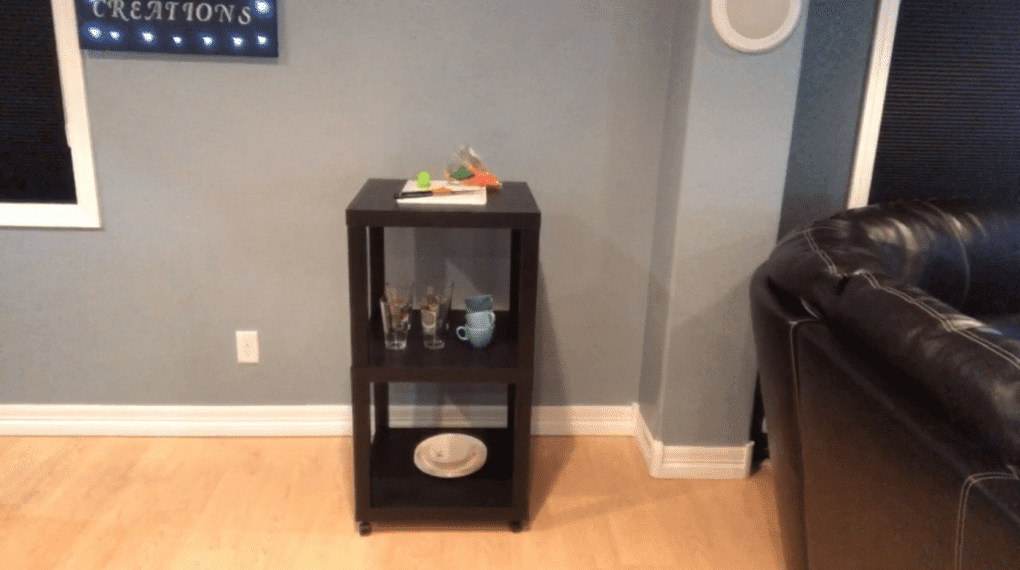
Add dishes, cookbooks, whatever you want to use the added space for. On top use it as a cutting board or service tray.
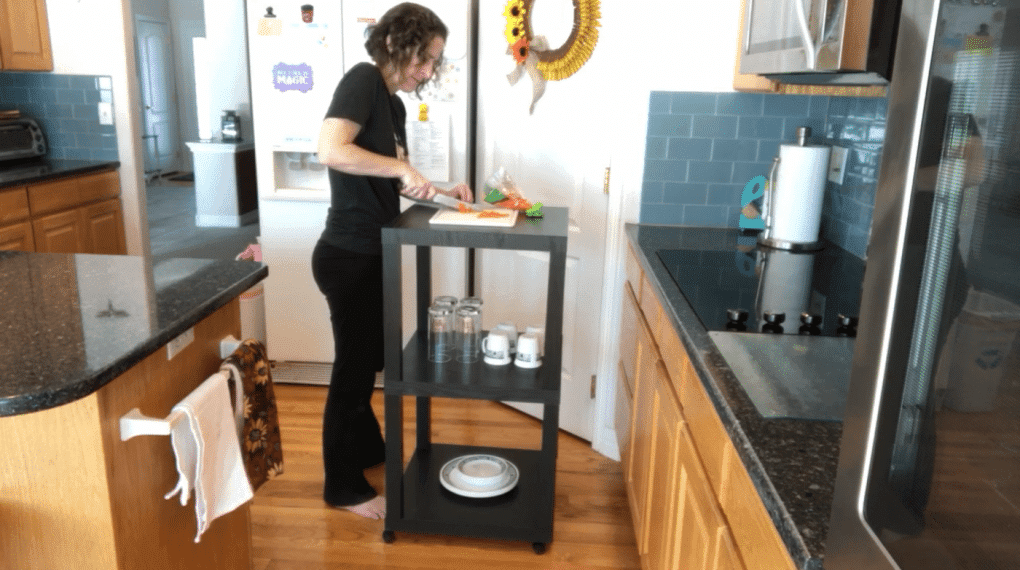
The kitchen island is great if you don’t have a lot of counter space.
How do you build a DIY storage shelf?
Here is how you build a DIY storage shelf
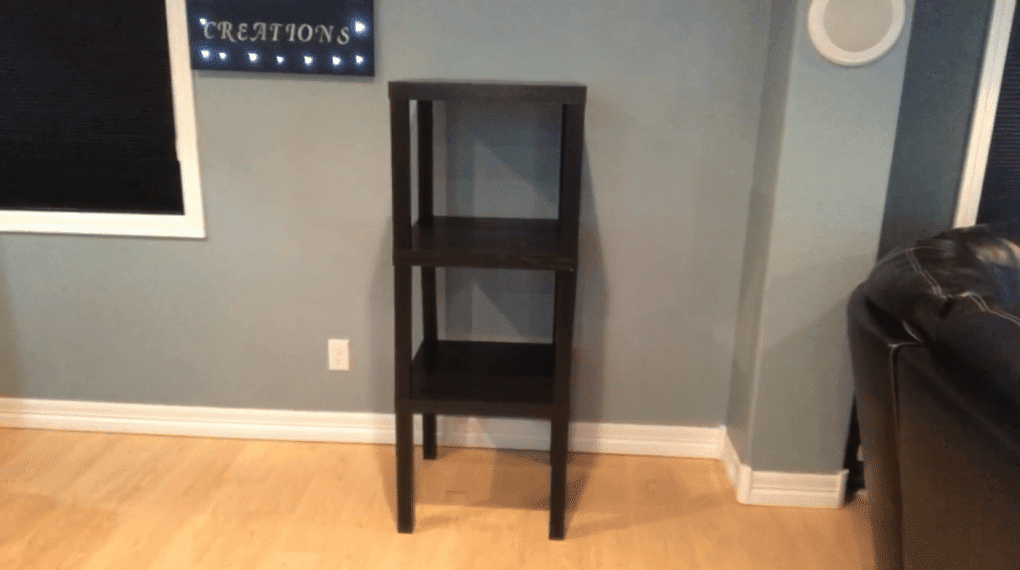
For this you’ll put together all 3 tables, add the E6000 to the bottom of 2 of the tables legs, and stack them on top of each other.
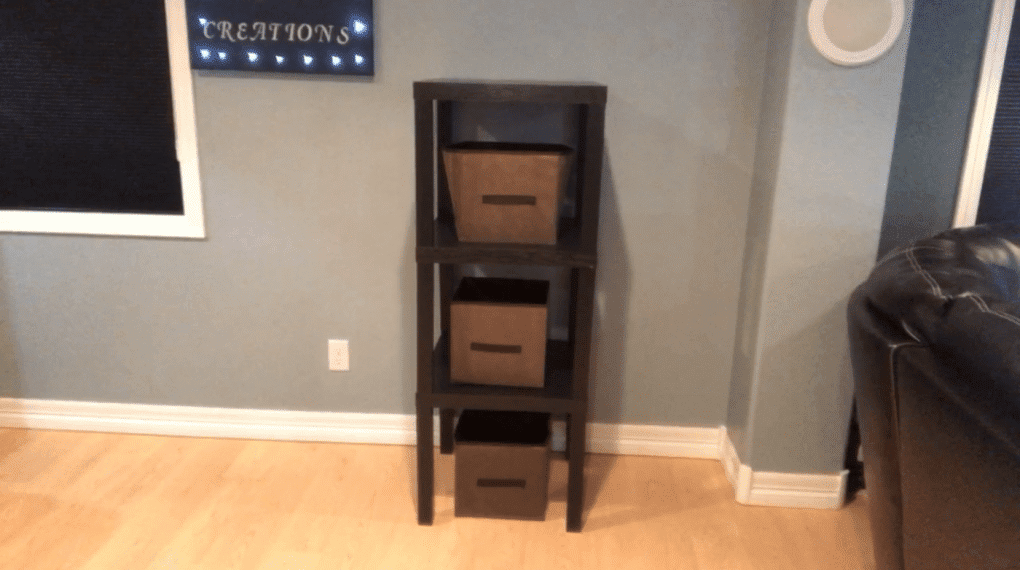
Add storage baskets to the shelves…

Use it as a decorative storage shelf to hold plants, books, decor, and I added a basket underneath to hold blankets.
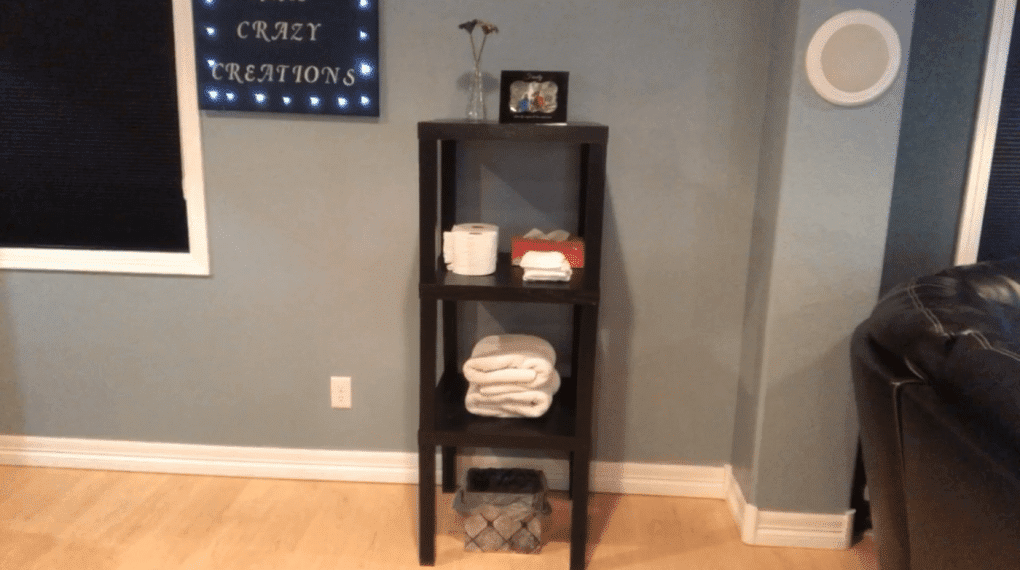
Use it in your bathroom as a storage shelf to hold towels, toilet paper, tissue, wash clothes, decor, and underneath I added a trashcan.
Are you ready to build a kitchen island or storage shelf for your home?
How much does it cost to build a storage shelf?
For this DIY storage shelf project it cost me $30.
How much does it cost to build a kitchen island?
I built this kitchen island for $35.
Click here to buy Walmart’s Parson End Tables
DIY Storage Self and Kitchen Island Video
Other Storage Solutions
- Easy and Inexpensive DIY Rolling Crate Storage
- Easy and Awesome DIY Wood Crate Bookshelf with Video
- Easy DIY Dollar Tree Plastic Crate Shelves with Video
- Fantastic Milk Crate Ideas with Endless Possibilities, You Won’t Believe It



What a great idea! My kitchen isn’t very large but when we had it remodeled many years ago they used every inch so I have no extra wall for something like this. But I do have a half wall that isn’t long that has our entry hall behind it. I might be able to carve out a corner there. 🙂 From reading the box, it looks like it’s a little over 4 ft. high. Is that about right? I’ll need it to be no higher than the 1/2 wall but I haven’t measured that yet so there might be room without trying to cut the legs.
Thanks Linda 🙂 I would say it’s about 39″ high with the wheels on. Without the wheels it is about the same height as a typical kitchen counter 🙂
Okay, so that would work. The half wall is higher than the kitchen counter by quite a bit. It’s definitely something to think about. We do have a pantry in our back hall and shelves for large things that we rarely use (like my electric roaster and 30 cup coffee pot) in the basement. Thanks for doing that. 🙂
This looks very easy and handy.
Thank you Donna
What a cool idea! I like seeing the different ways you can use the tables–so handy!
Thank you Christin 🙂
Very innovative! Great frugal storage!
#modestmonday
Katelynn, hampersandhiccups.com
Thank you Katelynn 🙂
Such a versatile idea, you can literally use something like this in every room in the house. Ikea sell suitable little tables very cheaply too so not an expensive idea at all. Brilliant.
Thank you Julie 🙂
What a great idea! I love how frugal and easy it is. Scheduled to share on the Hearth and Soul Facebook page. Thank you for being a part of the Hearth and Soul Link Party, Chas!
Thank you April you are so kind and thank you so much for the share 🙂
You are incredibly creative! This was such a good idea and very practical. Thank you for sharing it with us on Party in Your PJ’s. Pinned!
Thank you Teresa and thank you for the pin 🙂
What an ambitious undertaking!
Thank you so much Michele 🙂
Wow you really know how to re-invent and pull it off for many ideas as shown and for your home it’s brilliant and looks as if you had purchased it. I enjoy traditional Asian Chinese ideas and this was spot on. Ty
Thank you so much for sharing and I’m so pleased you like it. 🙂
Genius idea! Pinning this for future reference – thanks for the inspiration!
Thank you and thanks for the Pin, I’m so pleased you like the idea too 🙂
You have surprised me again with a fantastic idea! I like that the kitchen island is portable and has storage. Our kitchen could use an island but it would have to be tiny and portable.
Have a great day,
Kippi
Thank you so much Kippi – I’m thrilled you like it. I like that it is portable too – can be used in our dining room as an extra serving space too.
An excellent idea!
Thank you for sharing with Creative Compulsions!
Michelle
mybijoulifeonline.com
Thank you Michelle, it’s so useful.
This is a great and inexpensive project. And easy to make too. Thanks for sharing every week with us at #HomeMattersParty. I look forward to seeing what you make.
Thank you so much Donna, it’s so useful too. I’m thrilled and flattered you look forward to my projects – thank you!
Hi Chas! I saw your email come up so I popped over to read!! 🙂 This island is perfect for a small kitchen and with wheels it is perfect so it can be moved out of the way when it is not in use. (That thought reminds me of the old moveable dishwashers we had in Hawaii back in the ’70’s, lol!)
Fun ideas! Have a wonderful weekend!!
Hugs,
Barb 🙂
Thank you Barbara, and thanks for sharing – I have never seen one of those dishwashers but I have heard about them. I think the rolling cart reminds me of the metal serving carts that my grandma had – I love playing with those as a kid. Hugs back to you 🙂
Hi Chas, this is such a doable project. What a great idea!! Small kitchens everywhere need this.
Thank you so much my friend! Great to hear from you too, I know you have had a lot going on 🙂 Sending hugs!
This is a great idea and I like that it is portable! I would have never thought of this.
Thank you so much Amy, I am so glad you like it.