Creative and Easy Craft Storage on a Budget with Video
Are you in need of some craft storage? Here is how I organized my supplies on a budget, and I’ll share some other tips, tricks, and ideas.
This post may contain affiliate links, I earn from qualifying purchases at no extra cost to you. Click here for my disclosure policy

Craft Storage Materials
Craft Storage Video
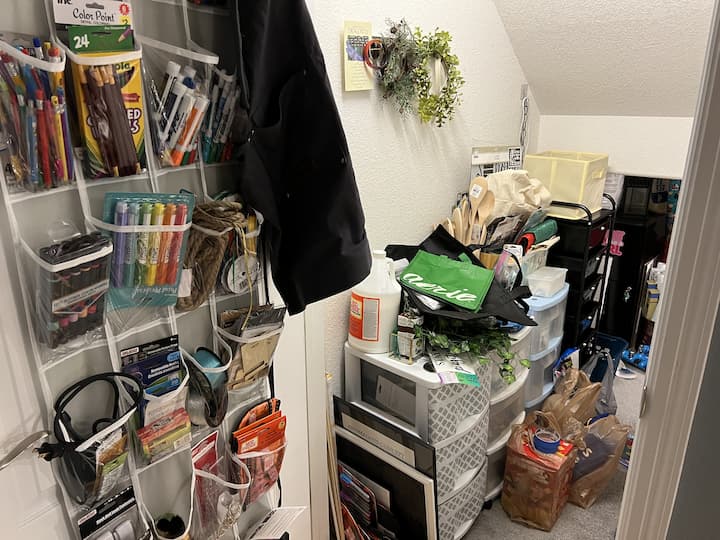
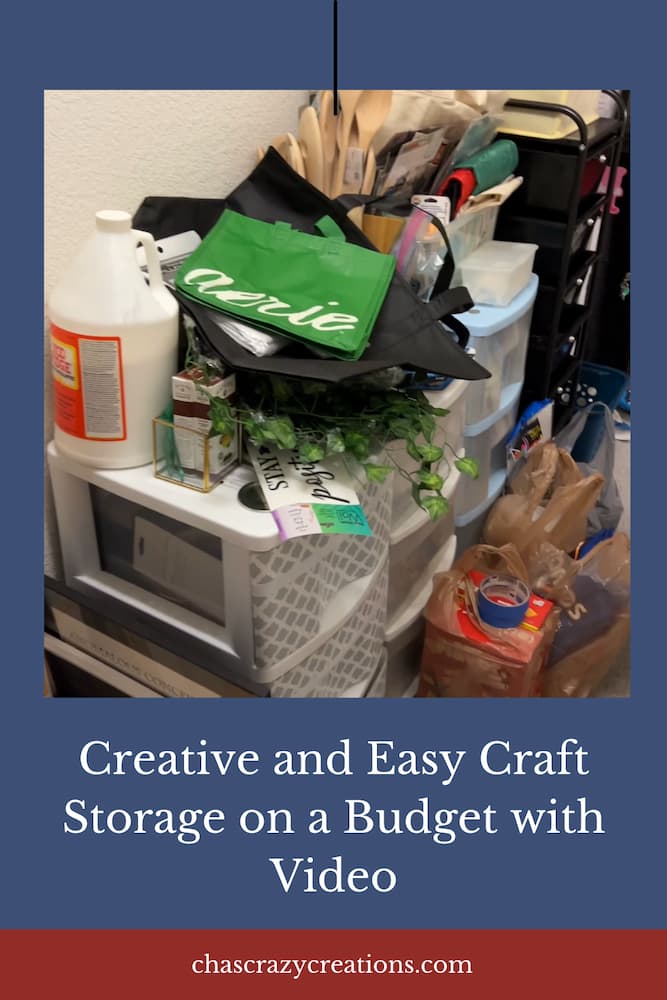
All my craft supplies fit in storage bins underneath the stairway, this serves as my storage cabinet for craft tools and art supplies. I also used a shoe organizer on the back of the door, but I didn’t love the way it clanged on the door. As you can see here the storage system just isn’t working for me and it’s time to do some updating.
Craft Storage instructions
1. search for your storage solution
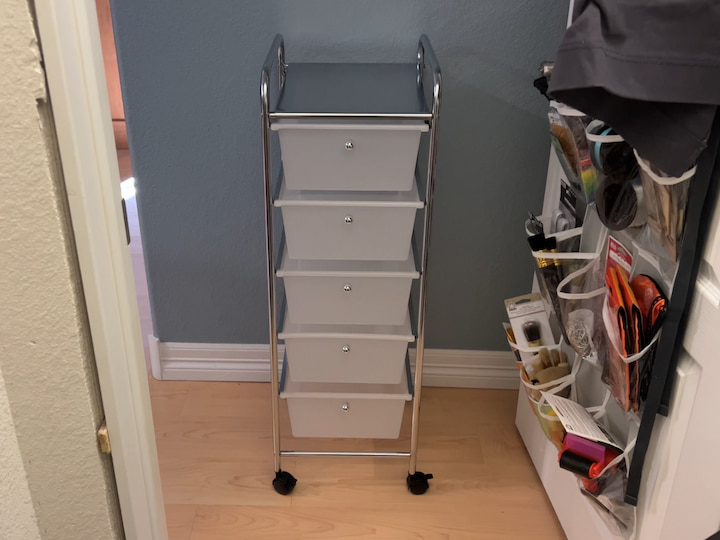
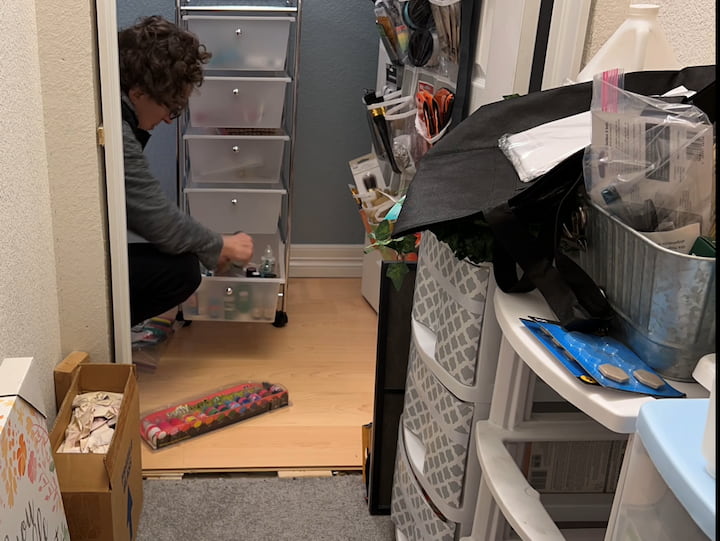
I went in search of the perfect storage solutions. What I wanted was a storage unit made up of rolling carts that I could pull in and out of the closet as I’m working on projects. I purchased these rolling cart systems in various sizes from Michaels, which I thought would make the perfect craft storage containers. They were super easy to put together and here’s what the drawer system looks like all put together.
2. Go through your supplies
The first thing I did was go through all the old drawers and place items in the new drawers. If I found items that I didn’t think I needed or wanted I made sure to put those in a pile to either donate or get rid of. Next, I took everything off the top of the old drawers and removed the old drawer systems giving myself a clean slate to work with.
3. Prep your storage space
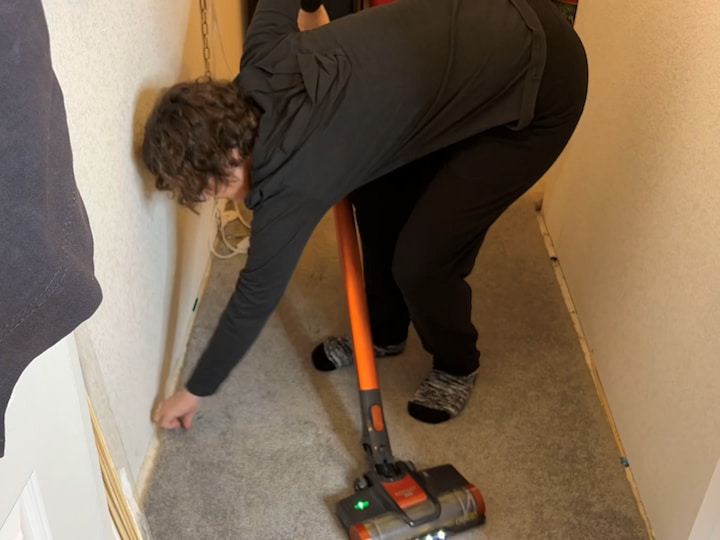
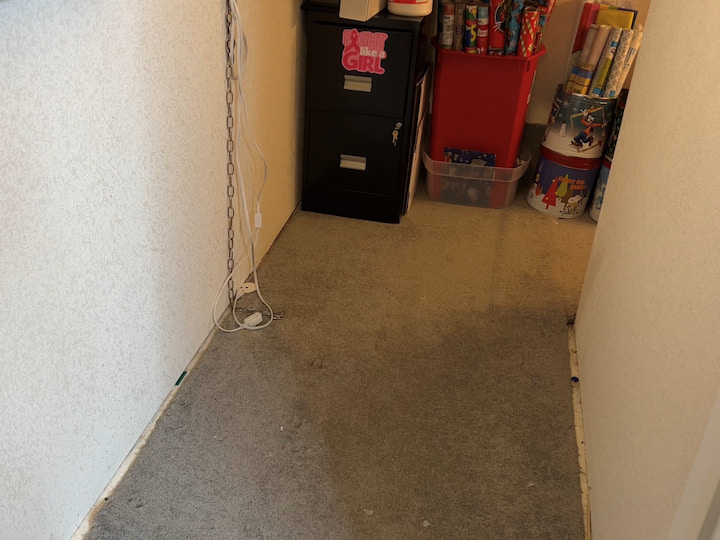
Then it was time to clean up the area so I used my vacuum cleaner and cleaned everything as well as I could.
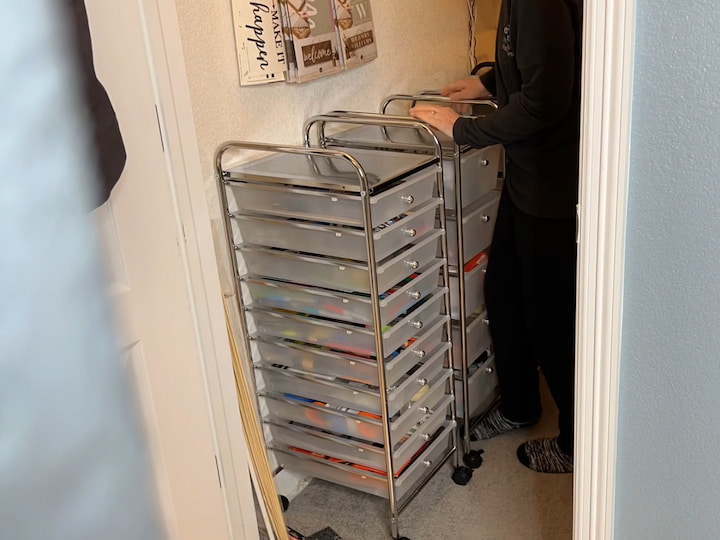
I then put the drawer systems back into the closet.
4. Optimize your Storage Space
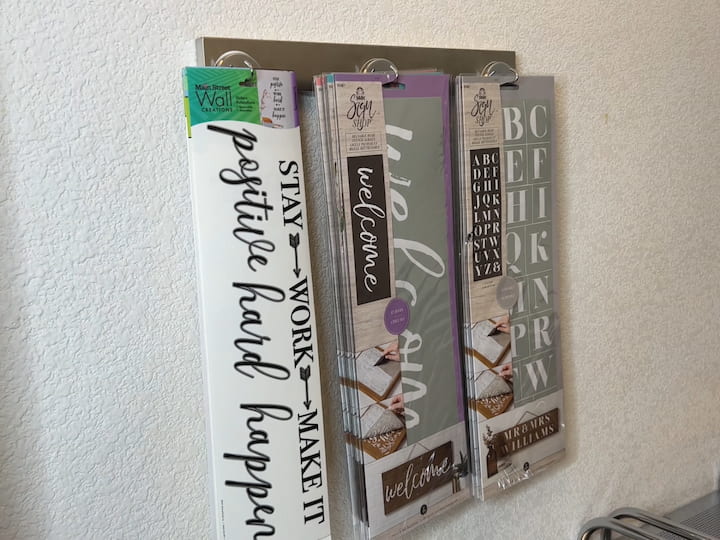
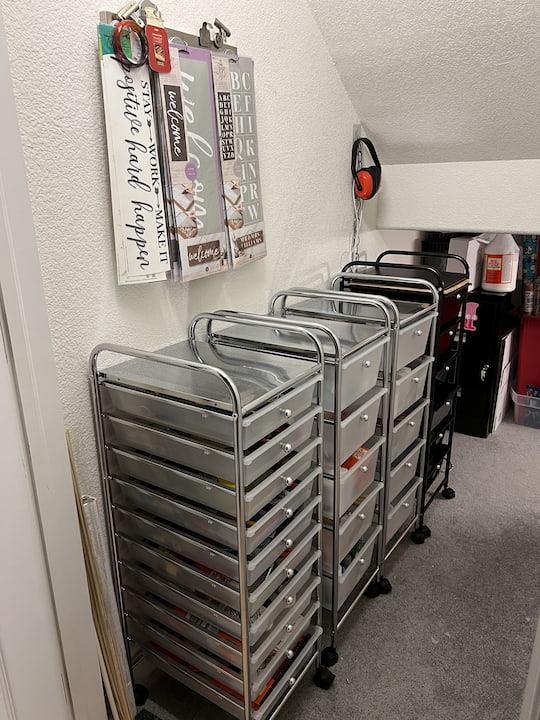
I had this magnetic strip in my closet from a previous video that I had worked on. I wanted to utilize it a little differently so I bought these magnetic hooks and placed the onto the magnetic strip. The nice thing about these hooks is they have a coated back so they won’t scratch the magnetic strip. This is an easy way to increase my storage space and is perfect for items that don’t fit in my storage carts. I used the wall hooks for the wall stickers that I purchased at the dollar store. This keeps them straight and out of the way until I’m ready to use them. Here’s a quick look at how nicely they hang on the wall and by using the magnetic hooks I can always change them up later.
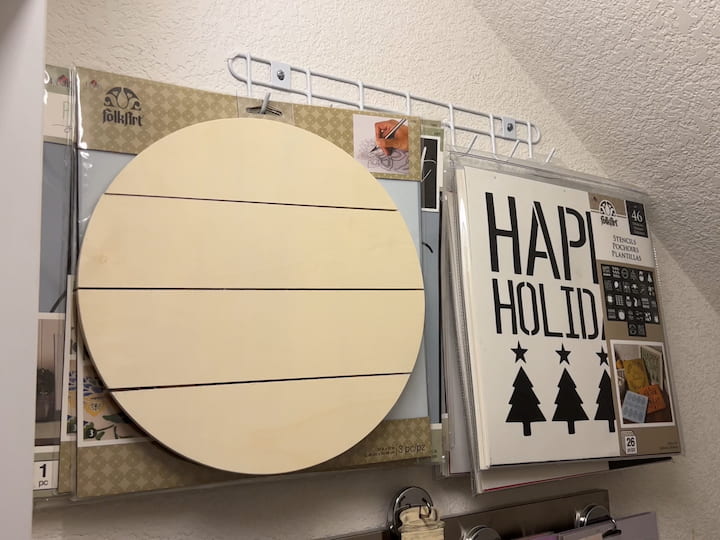
I was able to remove the shoe organizer that clanged so much on the back of the door and I replaced it with an over the door hook rack for my bigger stencils. I didn’t love the way that looked so instead I bought a hook system that screwed into the wall. I placed the larger stencils here above the magnetic strip, giving me easy access and keeping my door free of clutter.
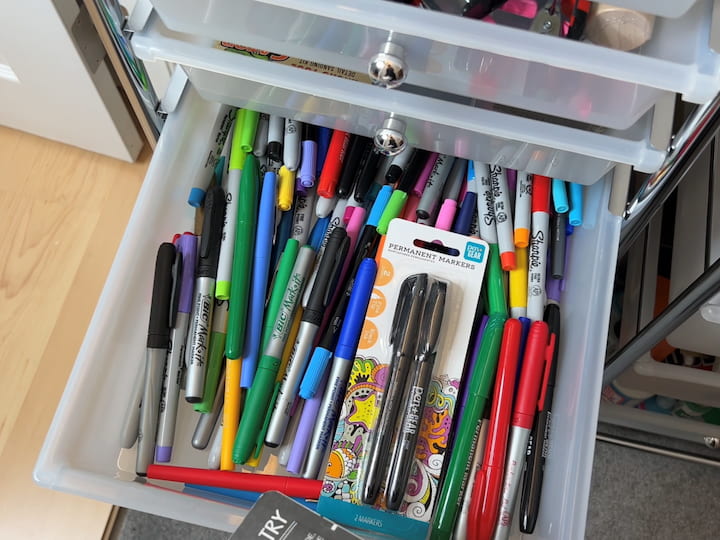
Now let’s take a look at how I organized my crafting supplies in the new drawer systems. This first drawer system has more drawers that are a bit smaller and narrower. This is perfect for small items like tools, markers, colored pencils and pens, paint brushes and stencil brushes, adhesives, cord, tape, and stickers.
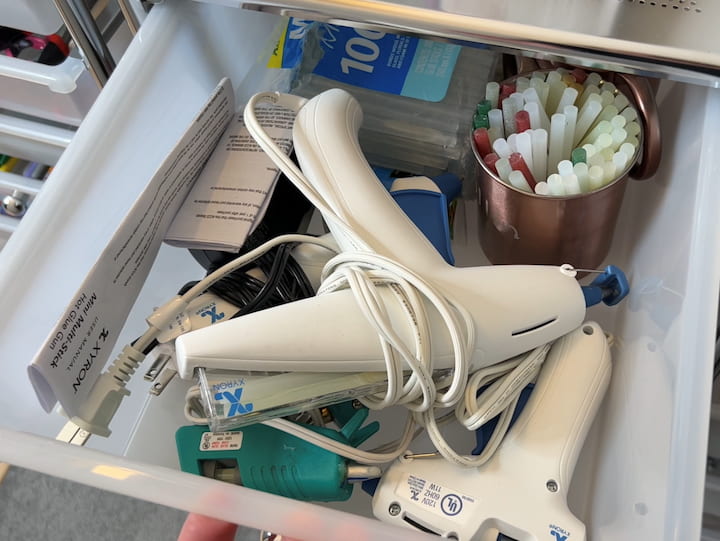
My other drawer systems are slightly larger and deeper and I was able to store my hot glue guns, glue sticks, Mod Podge, other glues an adhesives, and all my fabric paints. in drawers with the glue
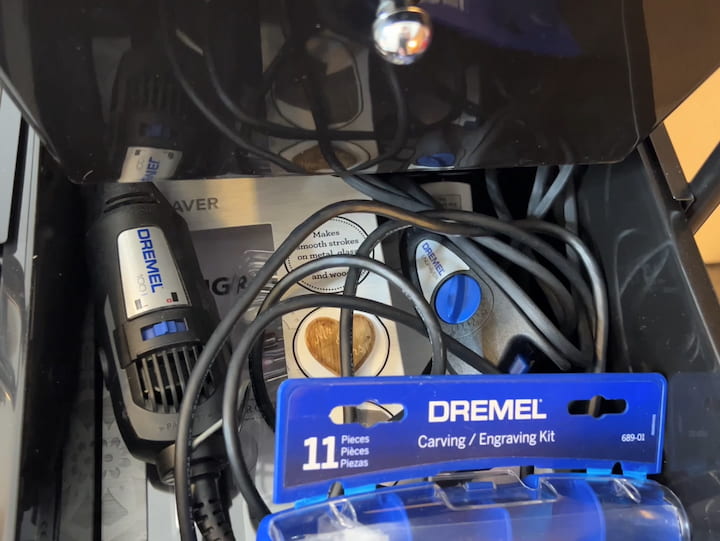
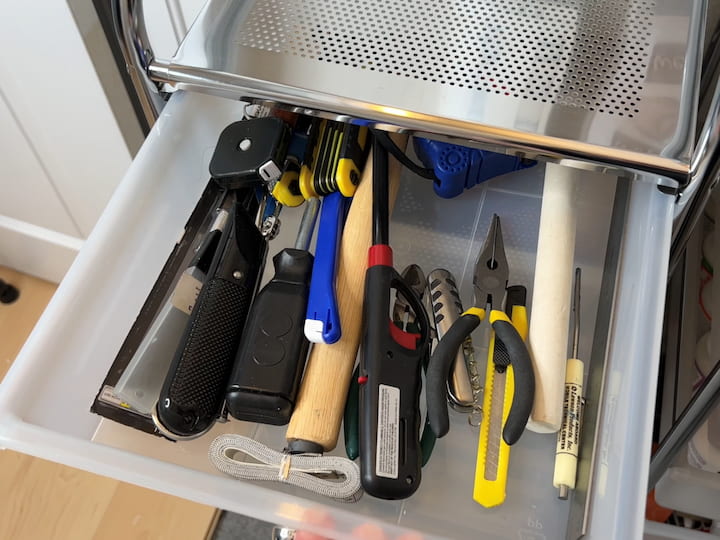
The last drawer system I used for all my tools, was my wood-burning tool kit, glass-cutting kit, Dremel tool set, and some of my stencil products. I have also left with some empty drawers that I will no doubt have fun filling up!!
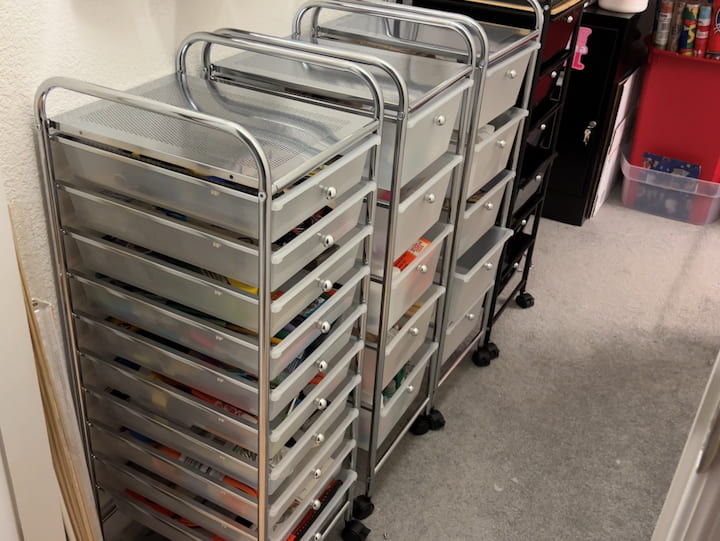
Now you’ll notice the system on the end is black. I purchased that one on clearance from Walmart in order to see if I liked this type of system. Unfortunately, there were no more of those available so I purchased all of the rest of them from Michael’s. I’m really thrilled with how they look and I now have so many creative options for storing all my supplies.
I hope this inspires you to organize a space in your home. I’d love it if you’d subscribe to my YouTube channel and my blog chascrazycreations.com. Thanks for watching and I’ll see you in my next video don’t forget to like, share and subscribe.
Craft Storage Video
